Enhancing your computer's performance can be done in various ways, and one of them is by enabling double channel RAM in the BIOS. But before we proceed, let's first discuss what double channel RAM is.
What is Double Channel RAM?
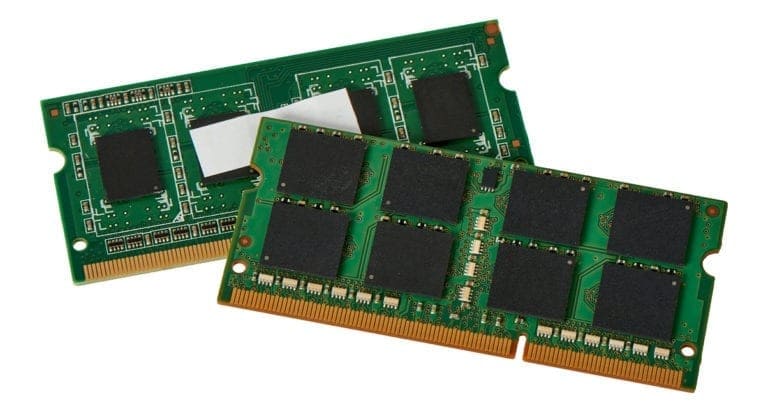
By default, your motherboard usually uses Single Channel Memory. This means that if you install two RAM modules, both will be treated as one channel. However, by enabling double channel RAM, your motherboard will treat the RAM modules separately, ultimately increasing your RAM bandwidth.
For example, if you have single channel RAM, it means you have one 64-bit data channel, regardless of how many modules are installed. But when you enable double channel RAM, each RAM module will have its own 64-bit data channel. Simply put, this means that your system's performance will improve, especially for heavier tasks.
Preparation Before Enabling Double Channel RAM
Before you start enabling double channel RAM in the BIOS, make sure to prepare a few things first:
- Ensure RAM is Equally Fast: Both should have the same speed. This is important to ensure consistency in your system's performance.
- Check Motherboard Support: Make sure your motherboard supports double channel RAM. You can find this information in your motherboard manual or by contacting the manufacturer.
- Ensure Two RAM Slots and Same Specifications: If you want to use double channel RAM, your motherboard must have four slots, and all RAM modules should have the same specifications.
Steps to Enable Double Channel RAM in BIOS
Once you're prepared, you're ready to enable double channel RAM in the BIOS. Here are the steps:
- Restart Your Computer: This is the first step you need to take before entering the BIOS.
- Enter the BIOS: During the boot process, continuously press the appropriate shortcut key to enter the BIOS. Usually, these keys are F2, Del, Esc, or F10, but it can vary depending on your motherboard.
- Find Advanced Memory Settings: Inside the BIOS, look for options related to advanced memory settings.
- Find Memory Mode or Channel Mode Options: This is a crucial step. Look for options related to memory mode or channel mode, and select the "Double" option.
- Save Changes: After selecting the "Double" option, make sure to save the changes you've made. Find the "Save & Exit" or similar option, and confirm your changes.
- Confirm Changes: Typically, the BIOS will prompt for confirmation before saving changes. Make sure to approve it by selecting the "Yes" or similar option.
Conclusion
By following the steps above, you should be able to enable double channel RAM in your motherboard's BIOS. Keep in mind that this process may vary slightly depending on the type of motherboard you have, so be sure to refer to your motherboard's manual if you encounter difficulties.
Hopefully, this guide helps you enhance your computer's performance by enabling double channel RAM. If you have further questions or need additional assistance, feel free to ask or seek help from other reliable sources.
via emka.web.id


0 comments:
Post a Comment