
Tired of relying on third-party services for your online needs? Want to take control of your data and privacy? FreedomBox is the solution for you, turning your Raspberry Pi into a powerful personal server.
What is FreedomBox?
Privacy: FreedomBox puts you in control of your data. You can keep your files, messages, and other information securely on your own network.Security: FreedomBox is built with security in mind. It offers a secure environment for your data, free from the vulnerabilities and risks of shared cloud servers.Flexibility: You can customize FreedomBox to suit your specific needs, choosing from a wide range of applications and features.Open Source: The FreedomBox project is entirely open-source, meaning you can contribute to its development and access its source code.
Why Choose a Raspberry Pi for FreedomBox?
Cost-Effective: The Raspberry Pi is affordable, making it an accessible option for setting up a personal cloud.User-Friendly: FreedomBox offers a user-friendly interface, making setup and configuration straightforward, even for those new to server management.Excellent Support: The Raspberry Pi enjoys strong community support, ensuring access to resources, tutorials, and troubleshooting help.
Setting Up FreedomBox on your Raspberry Pi
Raspberry Pi: FreedomBox is officially supported on Raspberry Pi models 2, 3, and 4.SD Card: A high-speed SD card, at least 8GB in size.Ethernet Cable: To connect your Raspberry Pi to your network.Monitor: To see the initial setup process (optional, you can configure remotely after).Keyboard and Mouse: For initial setup (optional).
Head to the official Raspberry Pi website and download the Raspberry Pi Imager tool for your operating system. Install the tool and launch it.
Select your Raspberry Pi device from the "Choose Device" button in the Imager. Choose "Other specific-purpose OS" from the "Choose OS" button, then select "FreedomBox." Insert your SD card and select it in the "Choose Storage" section. Click "Next" and wait for the Imager to flash the FreedomBox image onto the SD card.
Once the flashing process is complete, safely eject the SD card and insert it into your Raspberry Pi. Connect your Raspberry Pi to power, monitor (if using), and your network via the Ethernet cable. Your Raspberry Pi will boot up, and the monitor (if connected) will display the IP address of your new FreedomBox server.
Open a web browser on your computer and enter the displayed IP address. You may see an error message due to FreedomBox not being in SSL mode. You can safely accept the exception. You will see a message asking you to wait while FreedomBox finishes installation.
Once the installation completes, a "Start Setup" button will appear. Click it. Create an administrator account with a username, password, and optional email address. FreedomBox will ask you about your internet connection. Choose the appropriate option based on your setup: Connected to a router: Recommended for most users.FreedomBox is your router: If you're using FreedomBox as a router for your network.Directly connected to the Internet: If your Pi is directly connected to your modem.
If you're connected to a router, choose "Use DMZ feature to forward all traffic (recommended)." This simplifies internet access. Choose your internet connection type based on whether your public IP address changes or is static. On the "Frequent Feature Updates" page, enable automatic updates for your FreedomBox. Click "Next" on the "Software Updates" page. FreedomBox will update, and you will see a "Setup complete!" message when it's finished.
Using FreedomBox
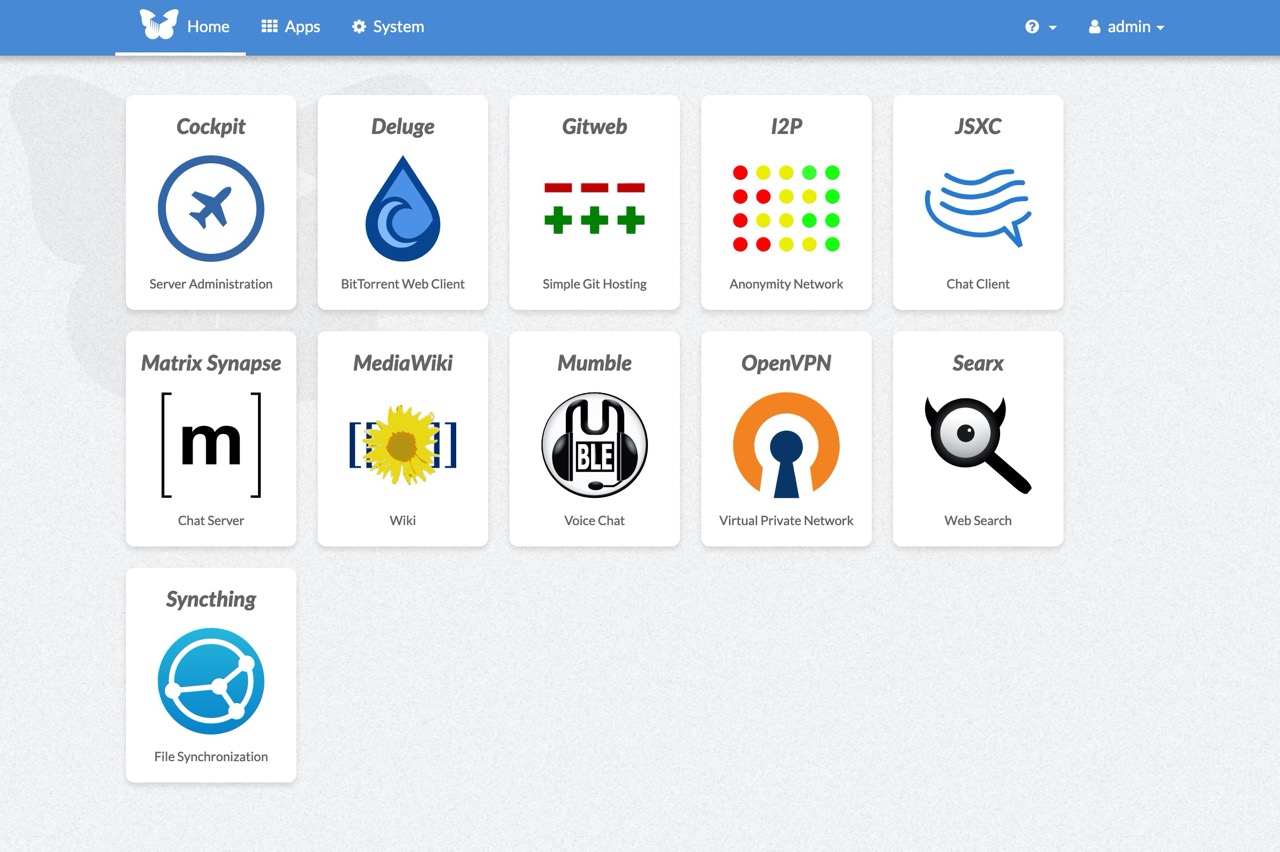
Log in to your FreedomBox web interface using the administrator account you created. Navigate to the "Apps" tab to see the available applications you can install. Popular options include: Nextcloud: A cloud storage and file-sharing solution.MediaWiki: A self-hosted wiki platform.WordPress: A popular content management system for building websites.Git: A version control system for collaborative software development.Seafile: Another option for cloud storage and file syncing.
Click on any application you wish to install and follow the prompts to configure it.
Once you've installed an application, you can customize it to meet your specific needs. Configure user accounts, permissions, domain names, SSL certificates, and application settings.
FreedomBox provides tools for monitoring and troubleshooting your applications and services. Access system logs and application-specific logs to diagnose and resolve any issues. You can also monitor resource usage to ensure your FreedomBox server is running smoothly.
FreedomBox: Your Gateway to a Secure and Personal Cloud
Host your own websites: Run your personal blog, portfolio, or even a small business website.Share files securely: Store and share files with family, friends, or colleagues without relying on third-party cloud services.Collaborate on projects: Use a self-hosted wiki or Git repository to work together on projects with others.Enjoy the benefits of a private chat service: Communicate with your network securely and privately.Customize your cloud experience: Choose the specific applications and features that best suit your needs.


0 comments:
Post a Comment