How to take a screenshot on Samsung A12 without buttons and applications? You can easily do it, as this phone has three built-in screenshot features that use gestures, button combinations, and assistant menu.
When it comes to taking pictures, Samsung A12 is reliable. The back of the phone is equipped with four lenses arranged vertically. The main lens is 48MP, 5MP ultrawide, 2MP macro, and a 2MP lens for depth sensing. Samsung also placed an 8MP selfie camera with various features.
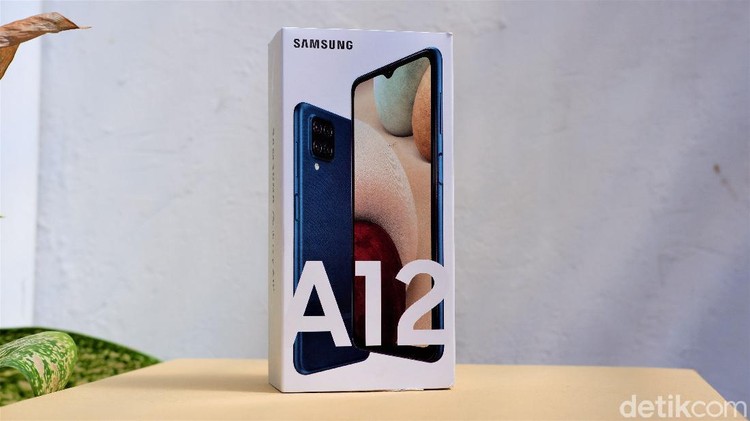
This phone has a 6.5-inch screen design with HD+ resolution of 720 x 1600, the same as the recently launched Galaxy M12. The difference is that this smartphone still uses PLS IPS panel technology with a cinematic screen ratio of 20:9.
This Samsung device has a bright and sharp display. In addition, there are three easy methods to take screenshots and you can use the one you prefer.
You can follow the three ways to take screenshots on Samsung A12 without using buttons below.
How to take a screenshot without buttons on Samsung A12
Screenshot without buttons using Assistant Menu
Your Samsung A12 can be configured to display an assistant menu in the form of a round button that appears on the bottom right of the screen. When tapped, this button will display a panel containing shortcuts to take screenshots and screen recordings.
Go to Settings and scroll down to Accessibility.
Select Interaction and Dexterity, then activate Assistant Menu.
The assistant menu will appear floating on your Samsung screen and is ready to take a screenshot.
Open Assistant Menu and select Screenshot or Screen Image.
How to take a long screenshot on Samsung A12
Users can use the long screenshot method to capture articles on web pages so they are easier to save or share on social media.
Go to Settings » Advanced Features » Screen Image.
Please slide the Screen Image toolbar toggle to activate it.
Open the application you want to take a long screenshot of, for example, Whatsapp which displays the entire conversation with someone.
Please take a screenshot using any method on your Samsung A12.
If the toolbar appears, tap Scroll Capture (down arrow icon) to scroll the page.
How to take a long screenshot on Samsung A12
Taking a screenshot with the physical button on Galaxy A12
This method is generally preferred by some Samsung users who do not like to use gestures, palm swipes, or assistant menus. Make sure to follow the instructions so that you can successfully take a screenshot using the phone's button.
Determine the page or area you want to screenshot.
Then press both the Power and Volume Down buttons together.
Next, you will see the screenshot image and Share option.
If the screenshot feature is not available, please try updating the software on your Samsung Galaxy A12.
Taking a screenshot on Galaxy A12 with Smart Select
The third method is very useful for capturing information on the screen using the Smart Select feature in the Edge Panel. Smart Select is one of the options in the Edge Panel that we can use to take screenshots in various shapes such as Oval, Rectangle, and others.
Here are the steps to activate and use Smart Select to take a screenshot on Samsung A12.
Please go to Settings > Display > Edge panel and turn it on.
After that, go to Edge panel settings and select Panel.
Next, swipe to the right and select the Smart Select option.
Then open the page you want to take a picture of.
Swipe from the edge of the screen to open the Edge Panel.
Choose the screenshot shape you want, such as a rectangle, oval, or select Animation if you want to make a GIF image.
You can resize or reposition the frame and press Done.
Next, a toolbar will appear at the bottom with options to draw, share, and save.


0 comments:
Post a Comment